2. Insert image into the document
In this section you will get to know how you can make the most use of the plugin.
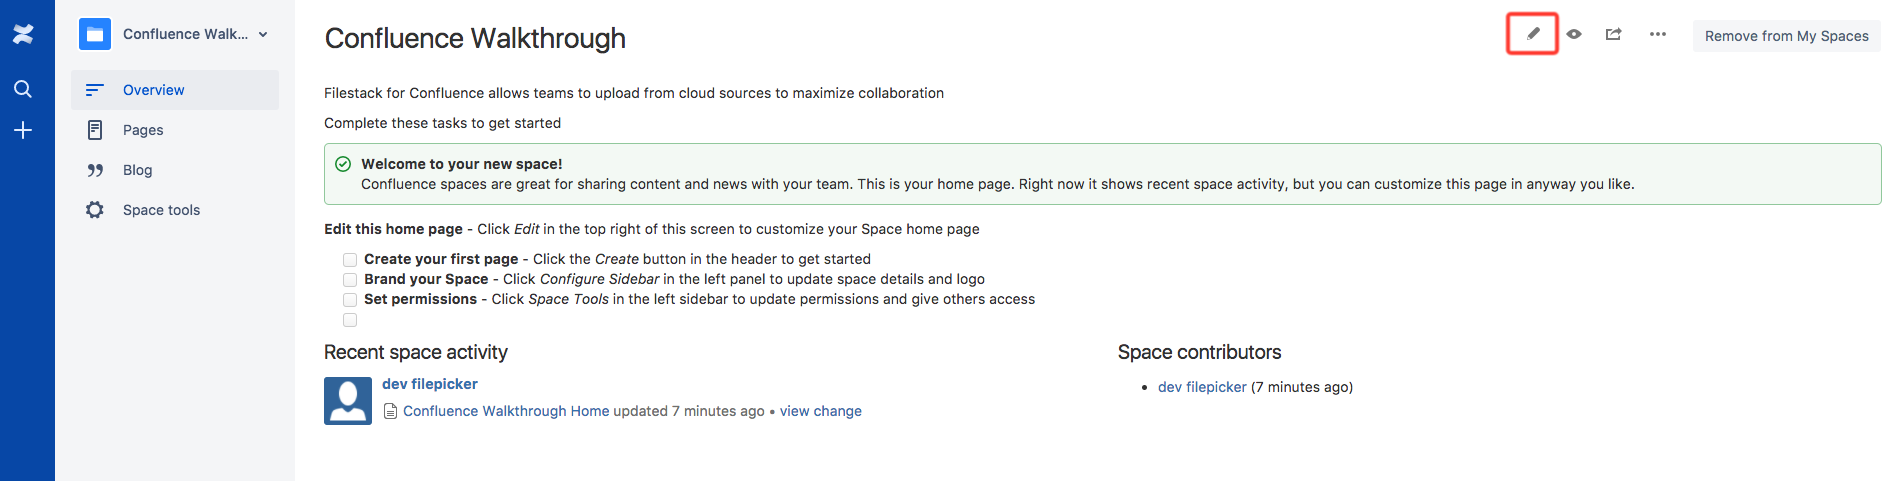
Go to one of your documents and click the edition icon.
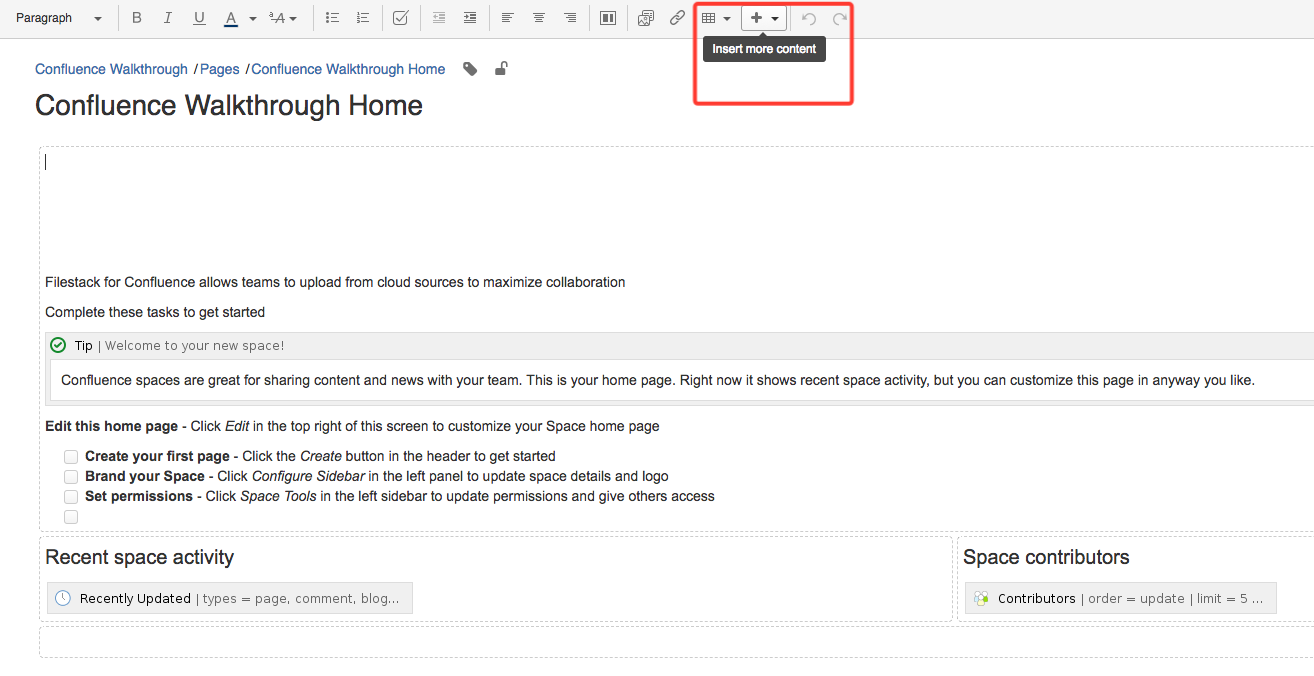
In the toolbar find a plus with drop-down list box that says Insert more content.
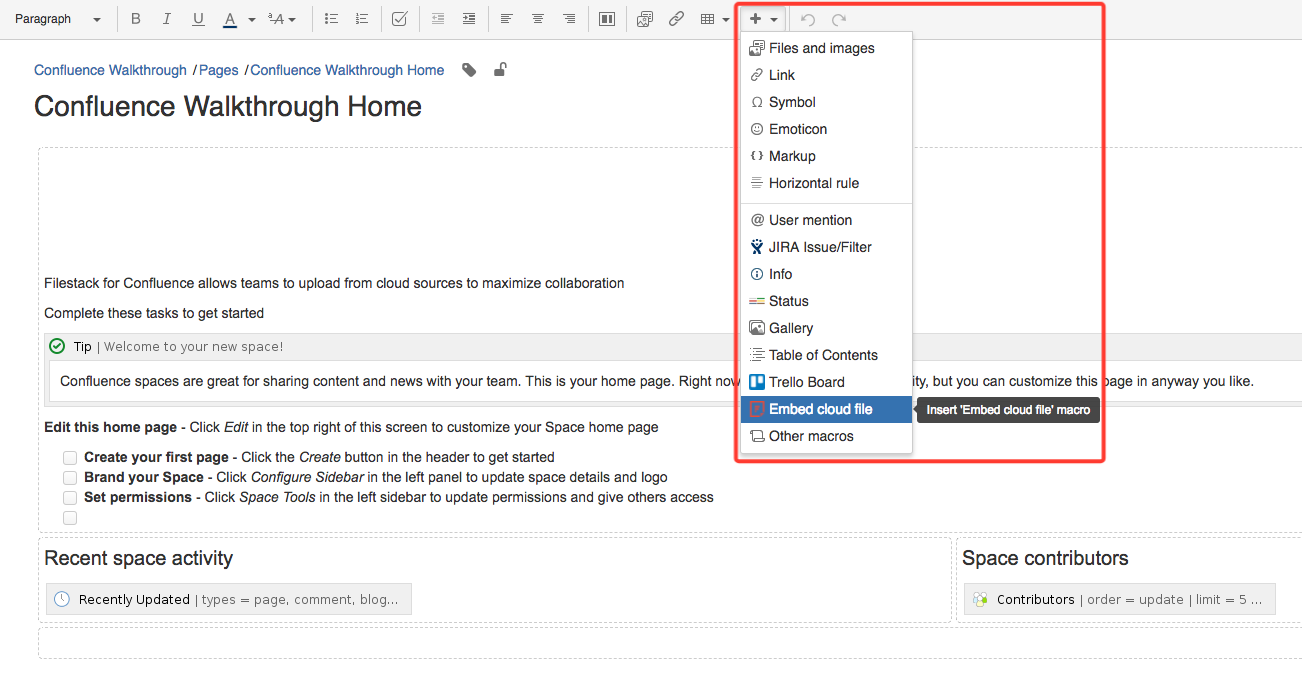
Then choose Embed cloud file from the list.
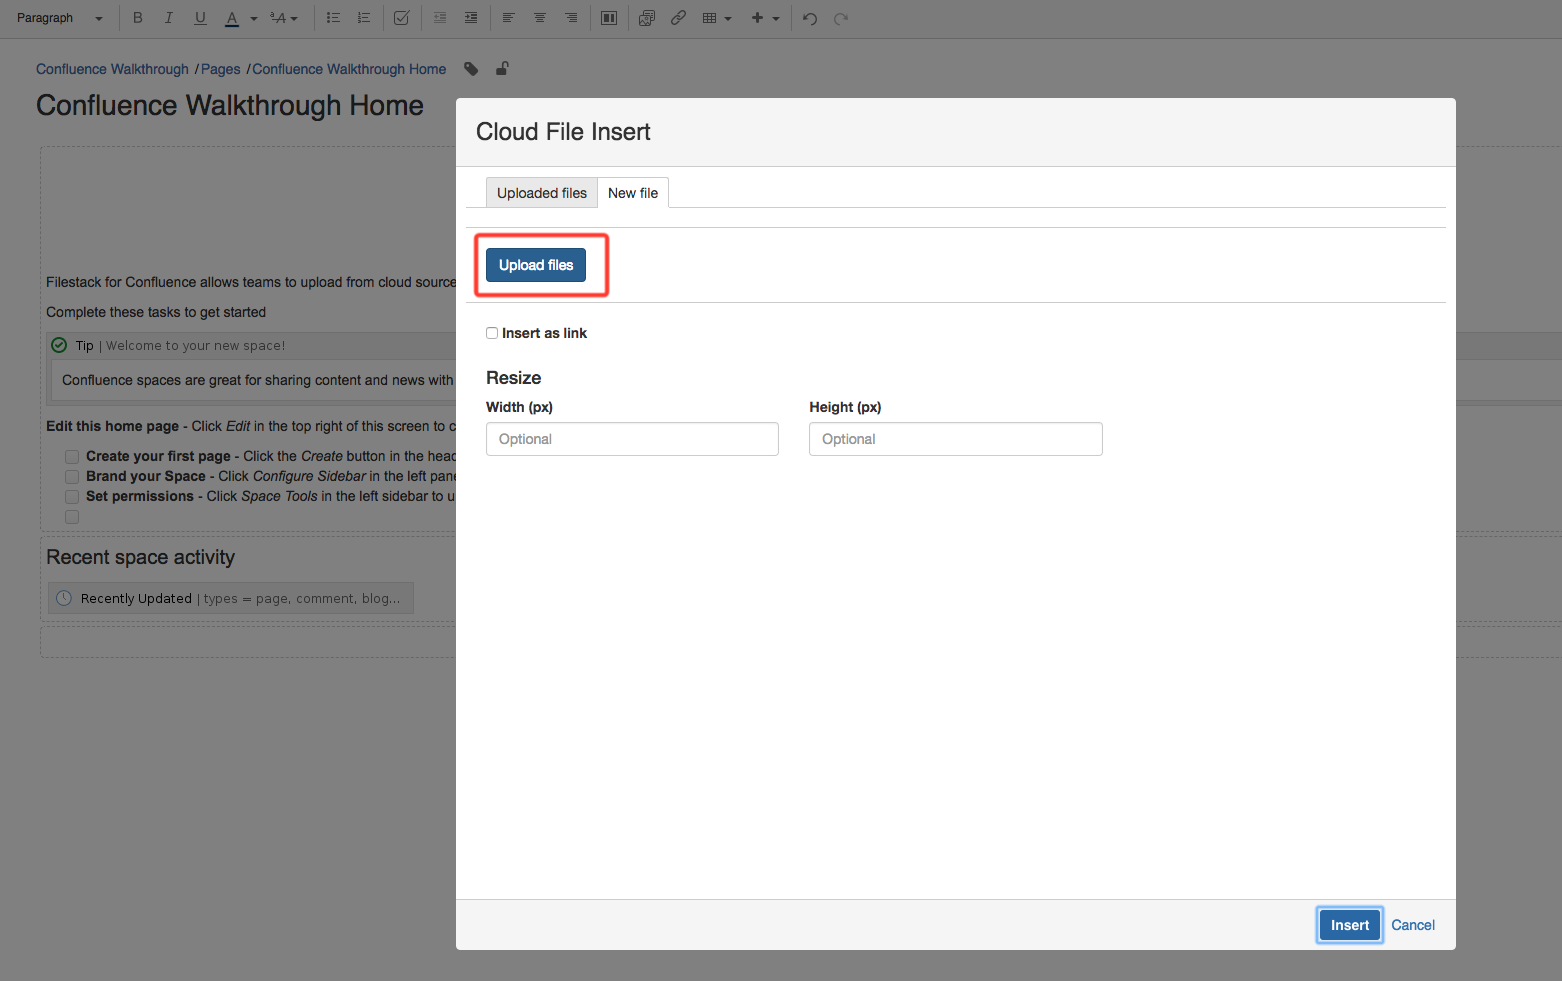
New dialog with actual plugin will finally appear! In order to insert a file into a document, first you need to upload a file from the cloud or from the computer. Click Upload files to open Filestack picker.
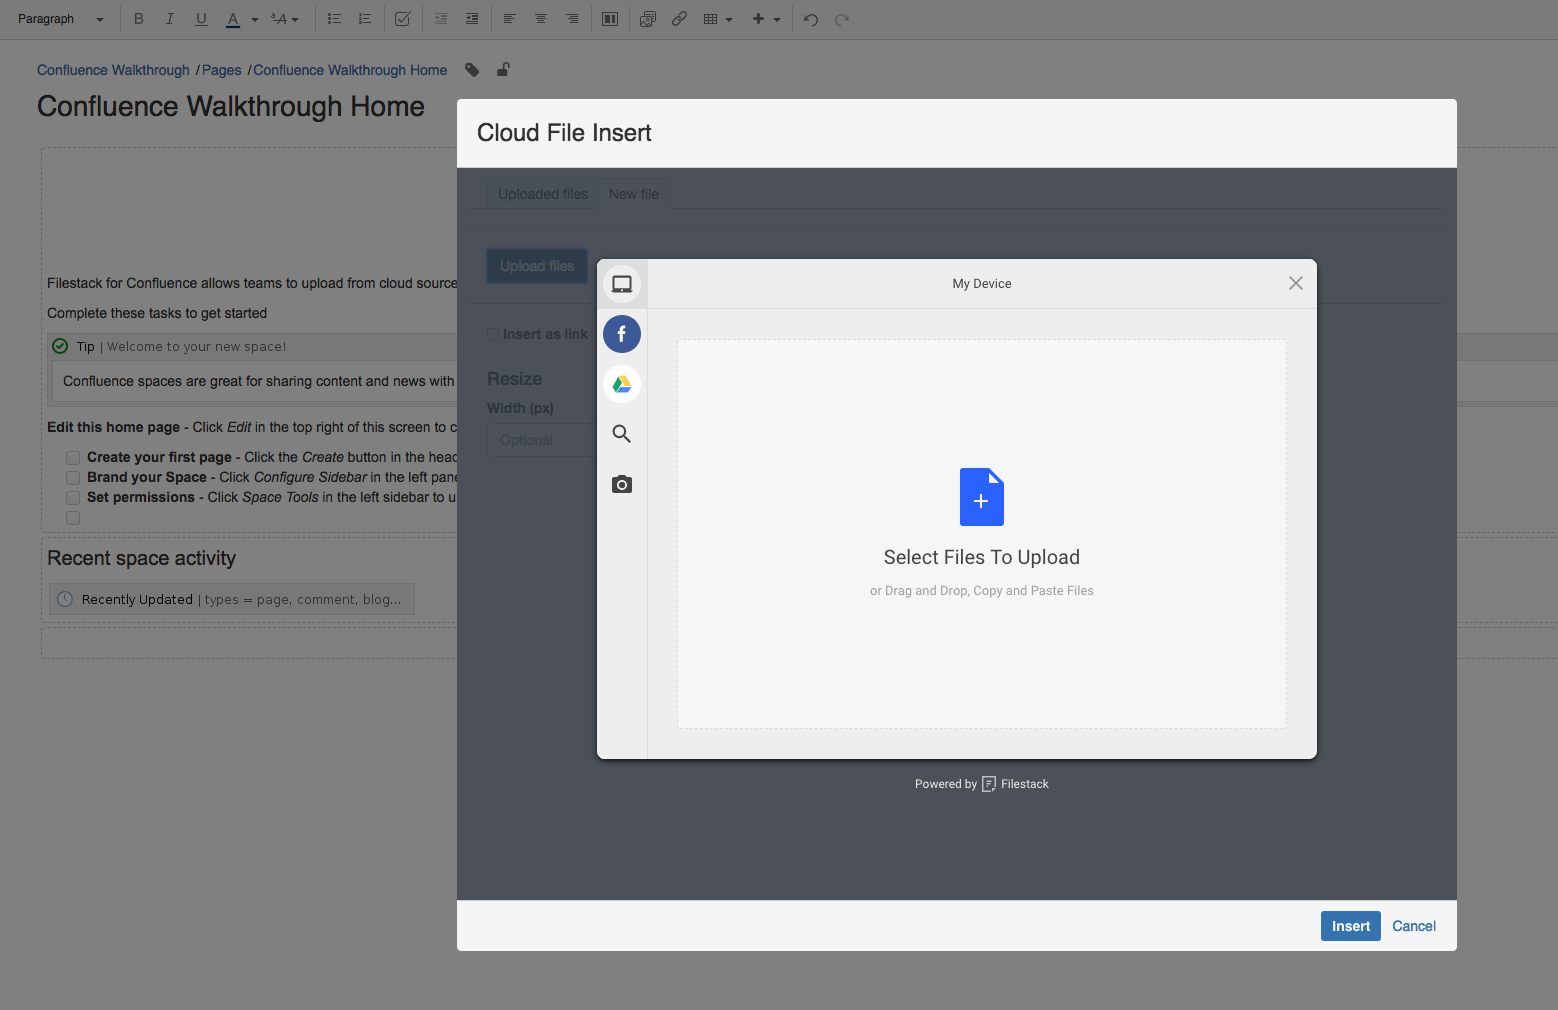
On the left side you can see the platforms from which you can upload (you can configure this list, it is described in the documentation later).
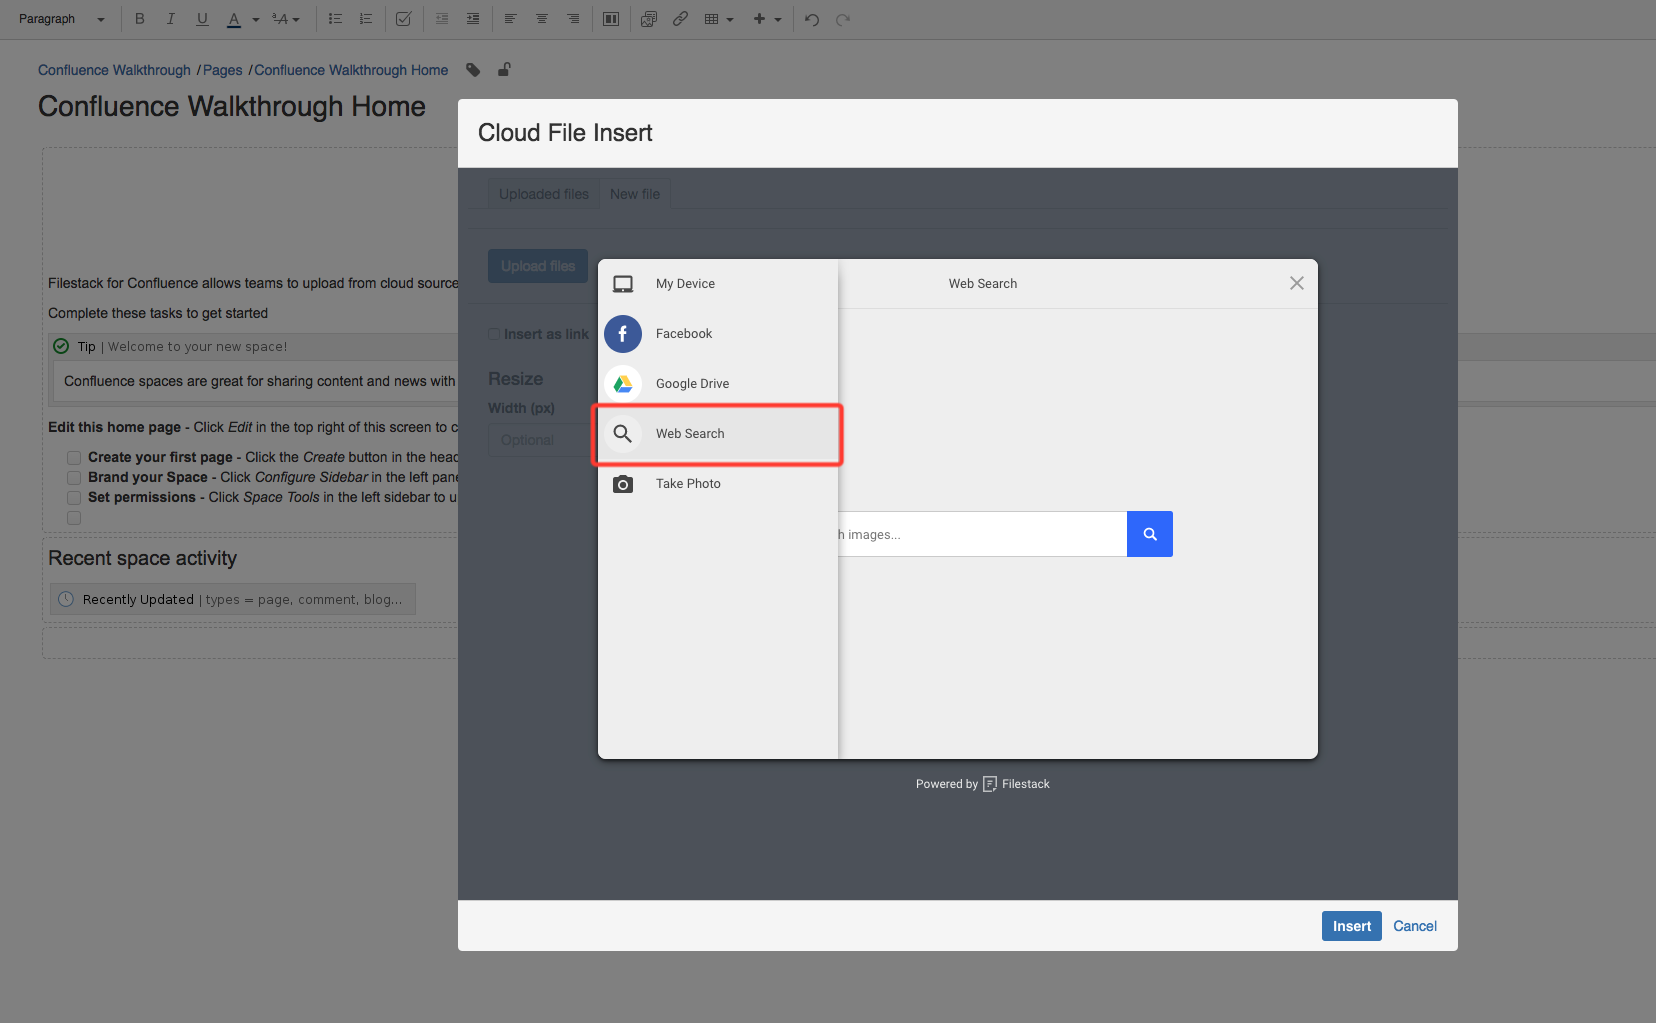
We will choose the Web Search option.
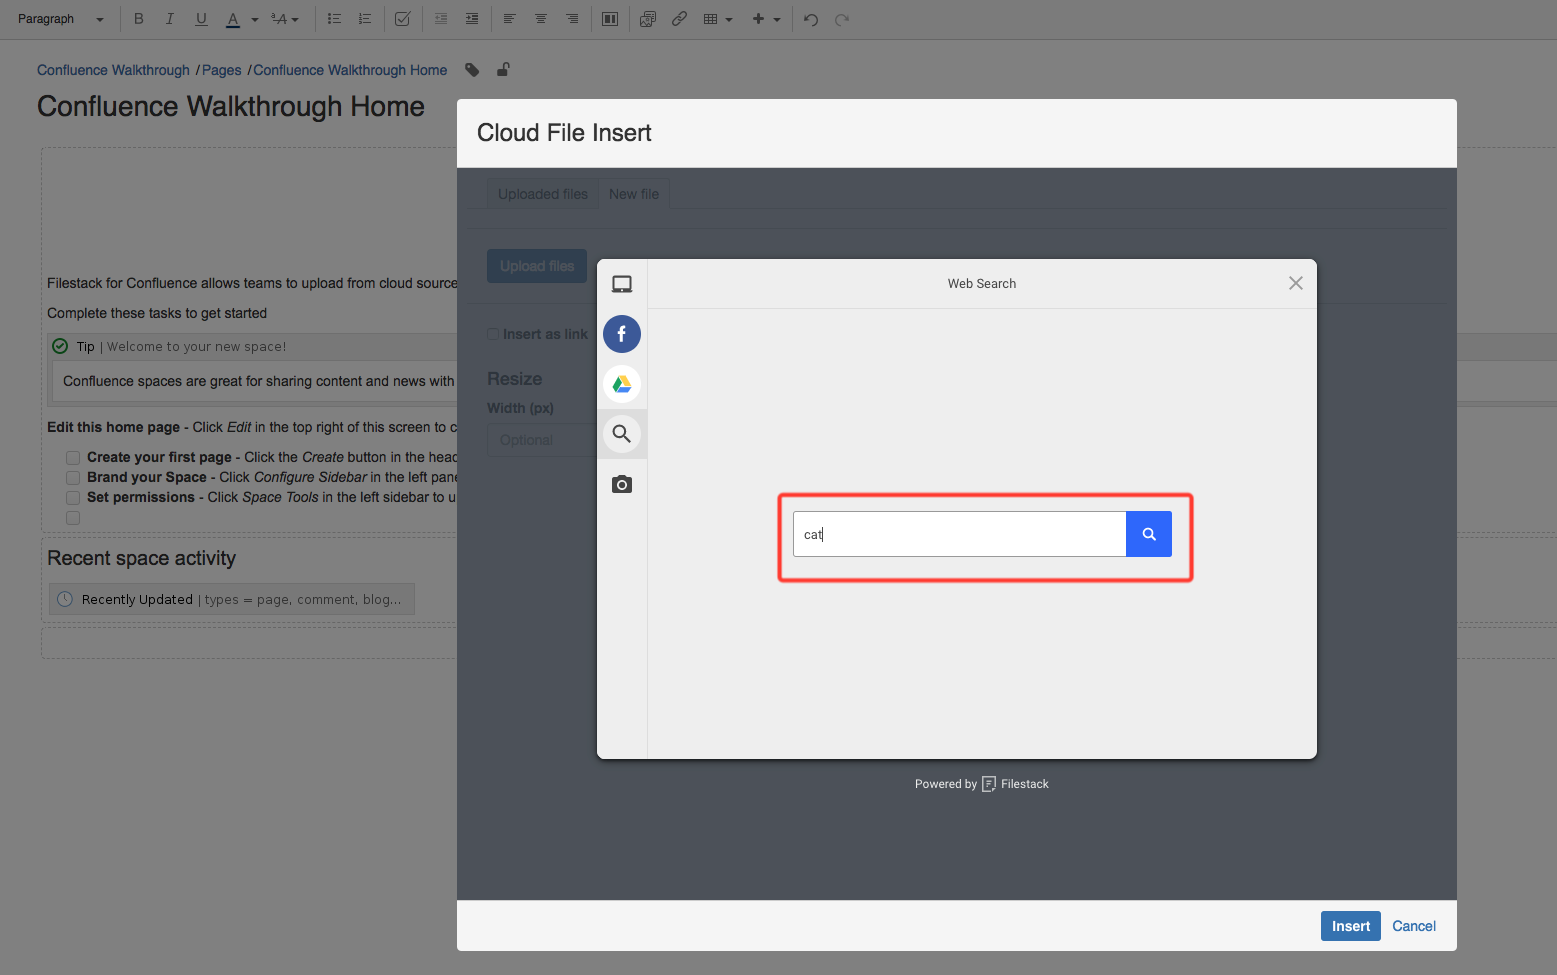
Type what you want to upload.
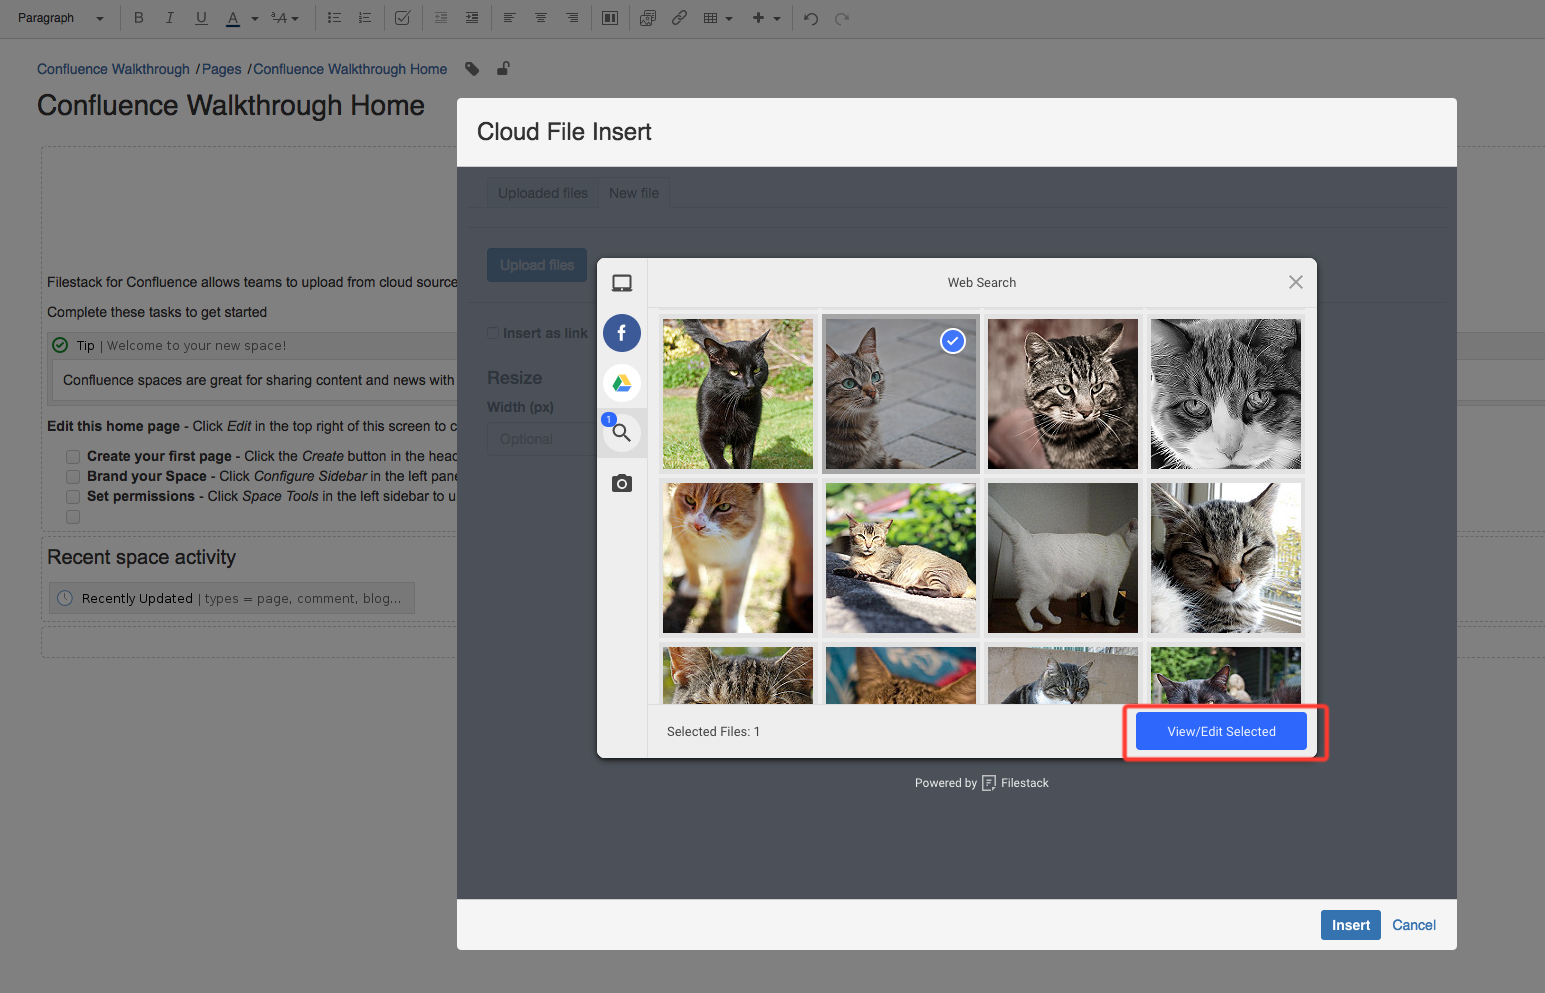
Choose the photo and click View/Edit selected.
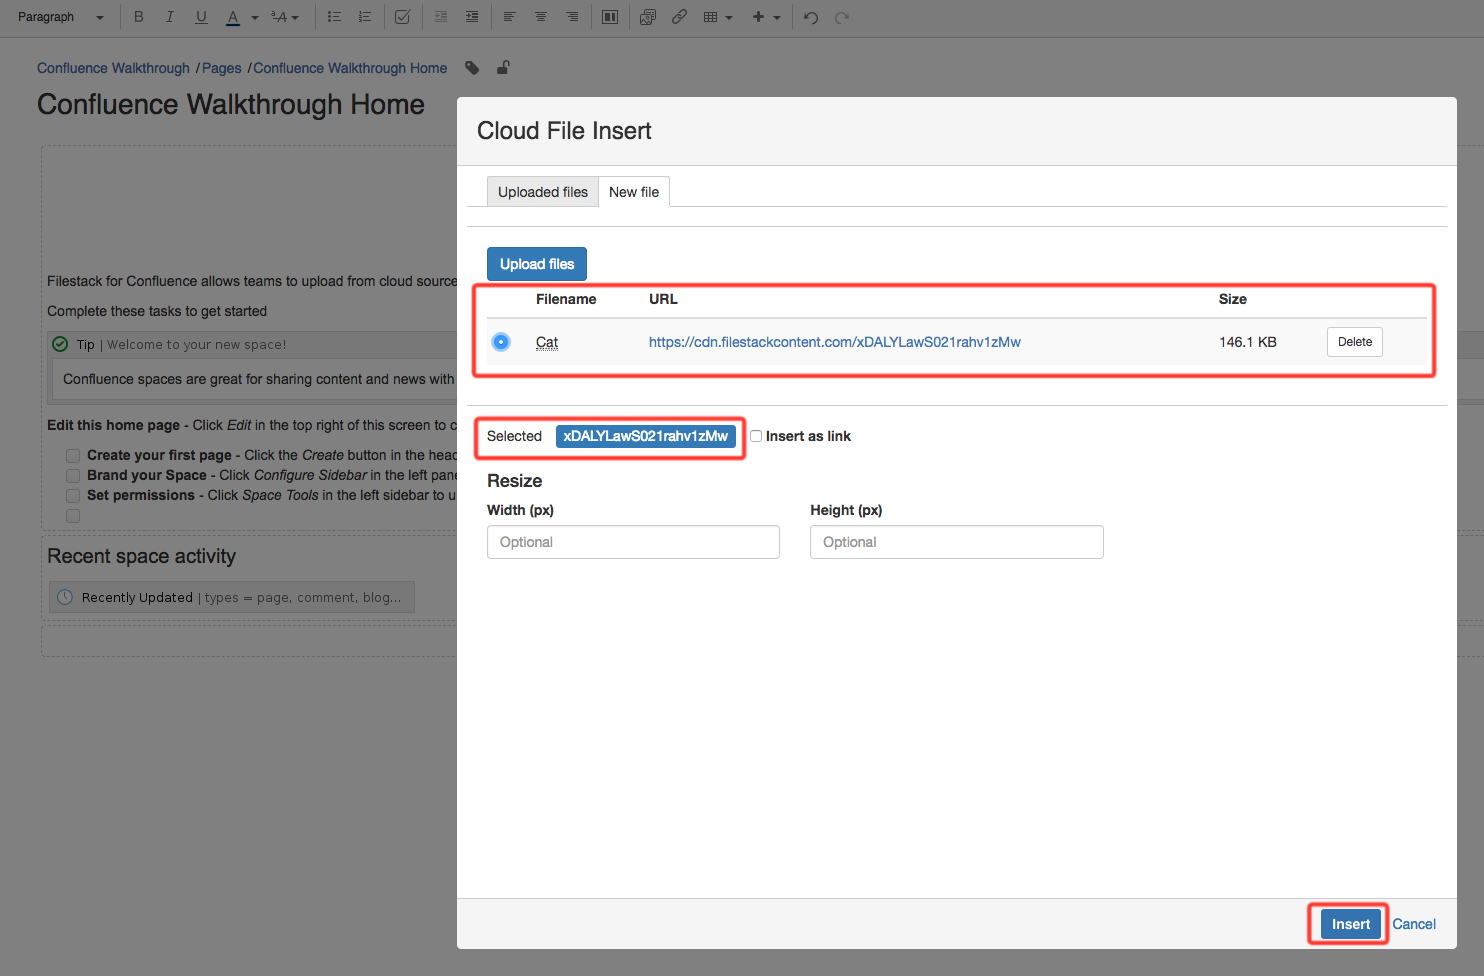
After the file is uploaded you will get the link created by Filestack. The plugin also shows the filename and size. You can also remove this link from your plugin. Mark the radio button for this file on the left side from filename.
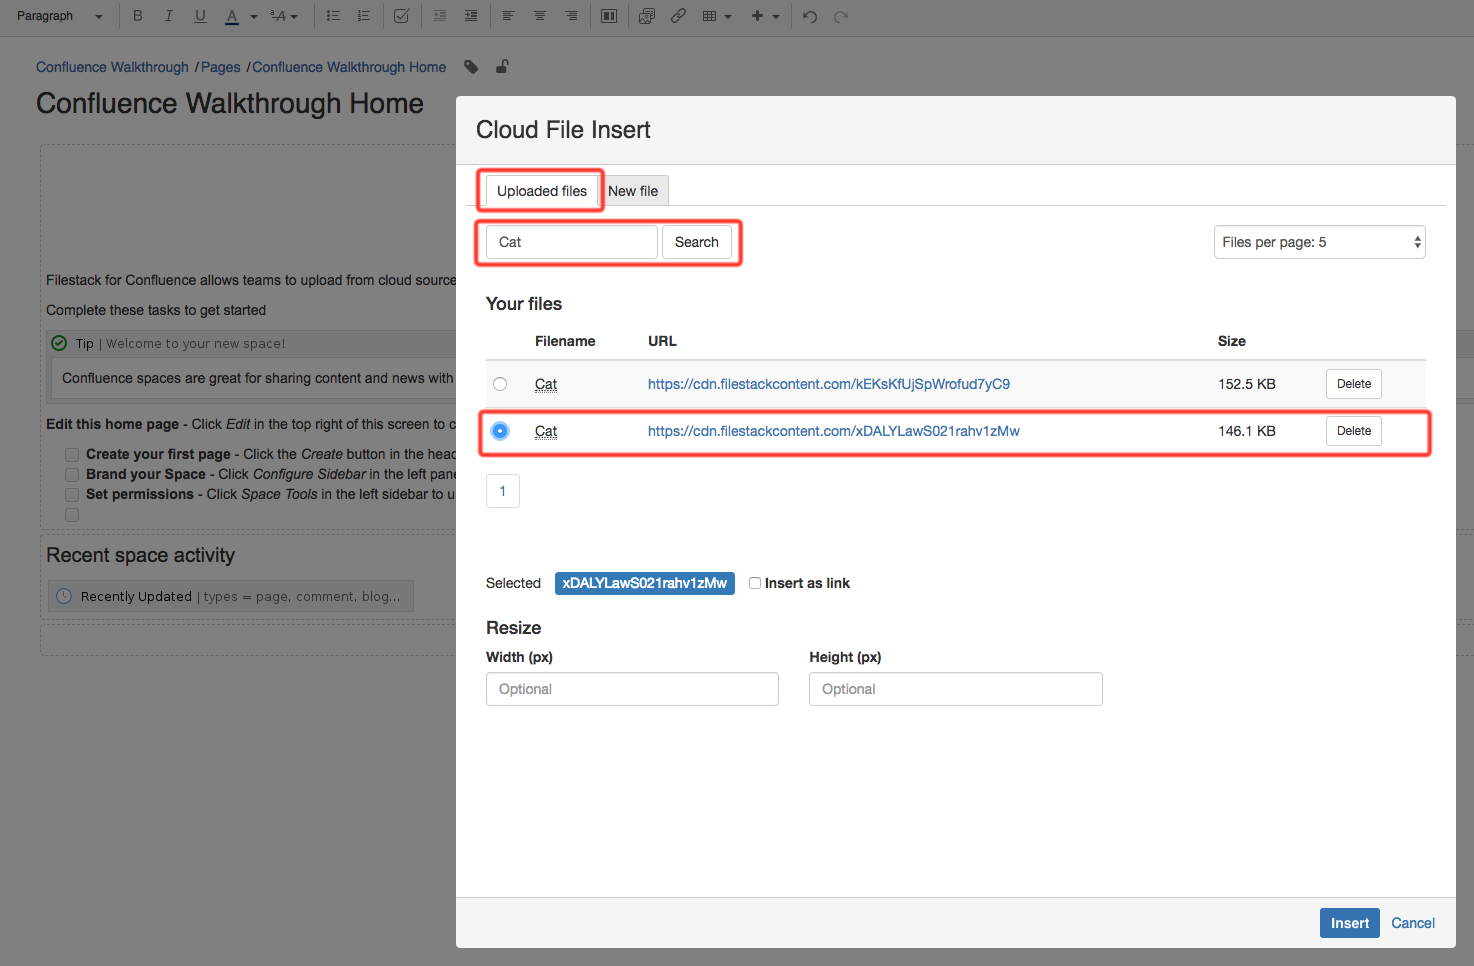
In the Uploaded files tab you can see the links that you already created with Filestack picker. You can Search within the filenames of your files and choose from the files you already have uploaded. Click Insert.
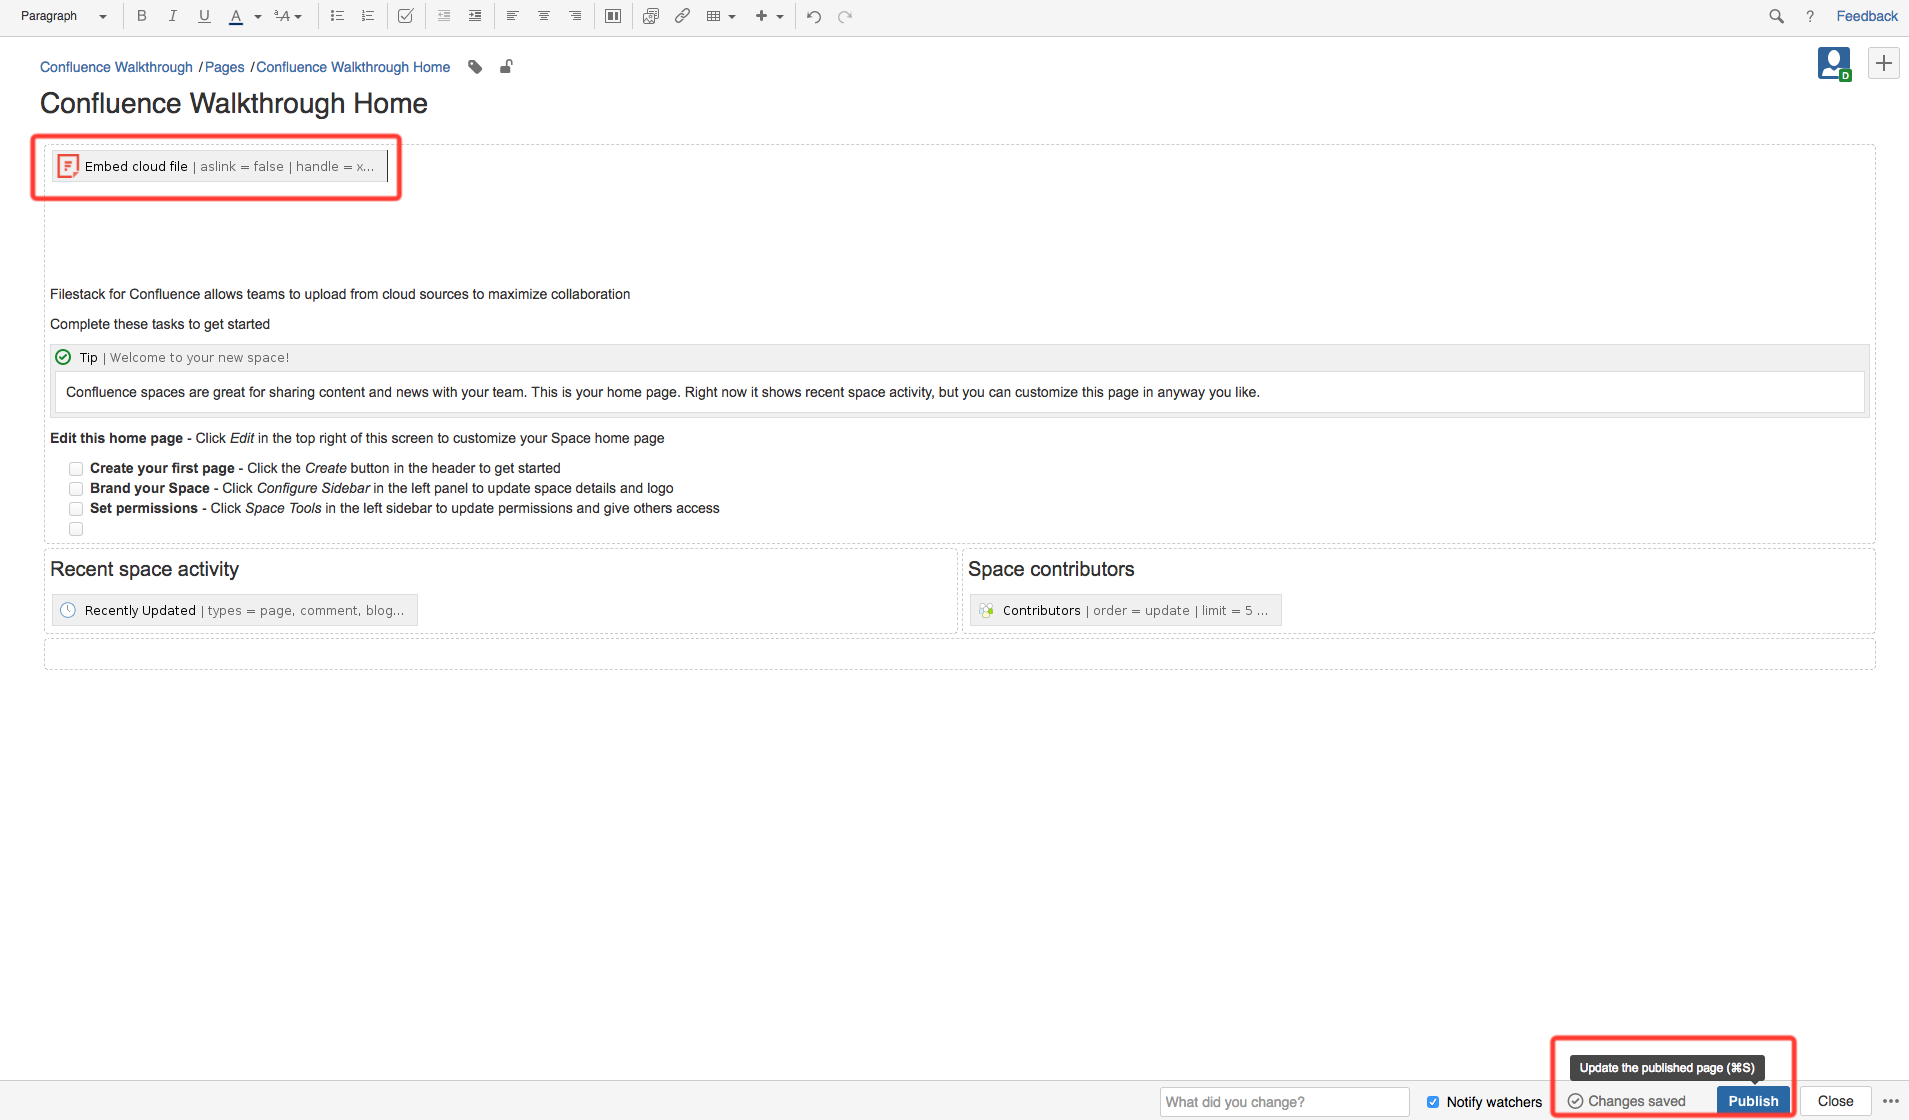
Right now the plugin has created a macro for the chosen file within an edition mode of a document. Publish to see it.